Sensors

Back

Sensors

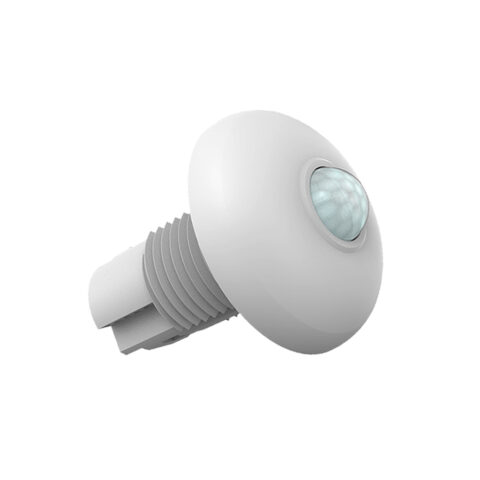
Battery Powered PIR Sensor

Product features

• Passive infrared sensor(PIR)
• Support Bluetooth mesh
• Software pairing
• Sensitivity of illumination sensing and body sensing can be adjusted
• Ceiling surface mounting
• Battery-powered
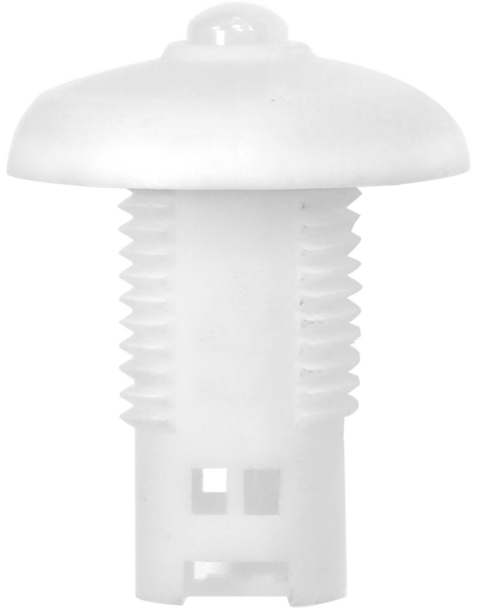
• Focus with Fresnel lenses
• Suitable for drive power supply with CASAMBI module
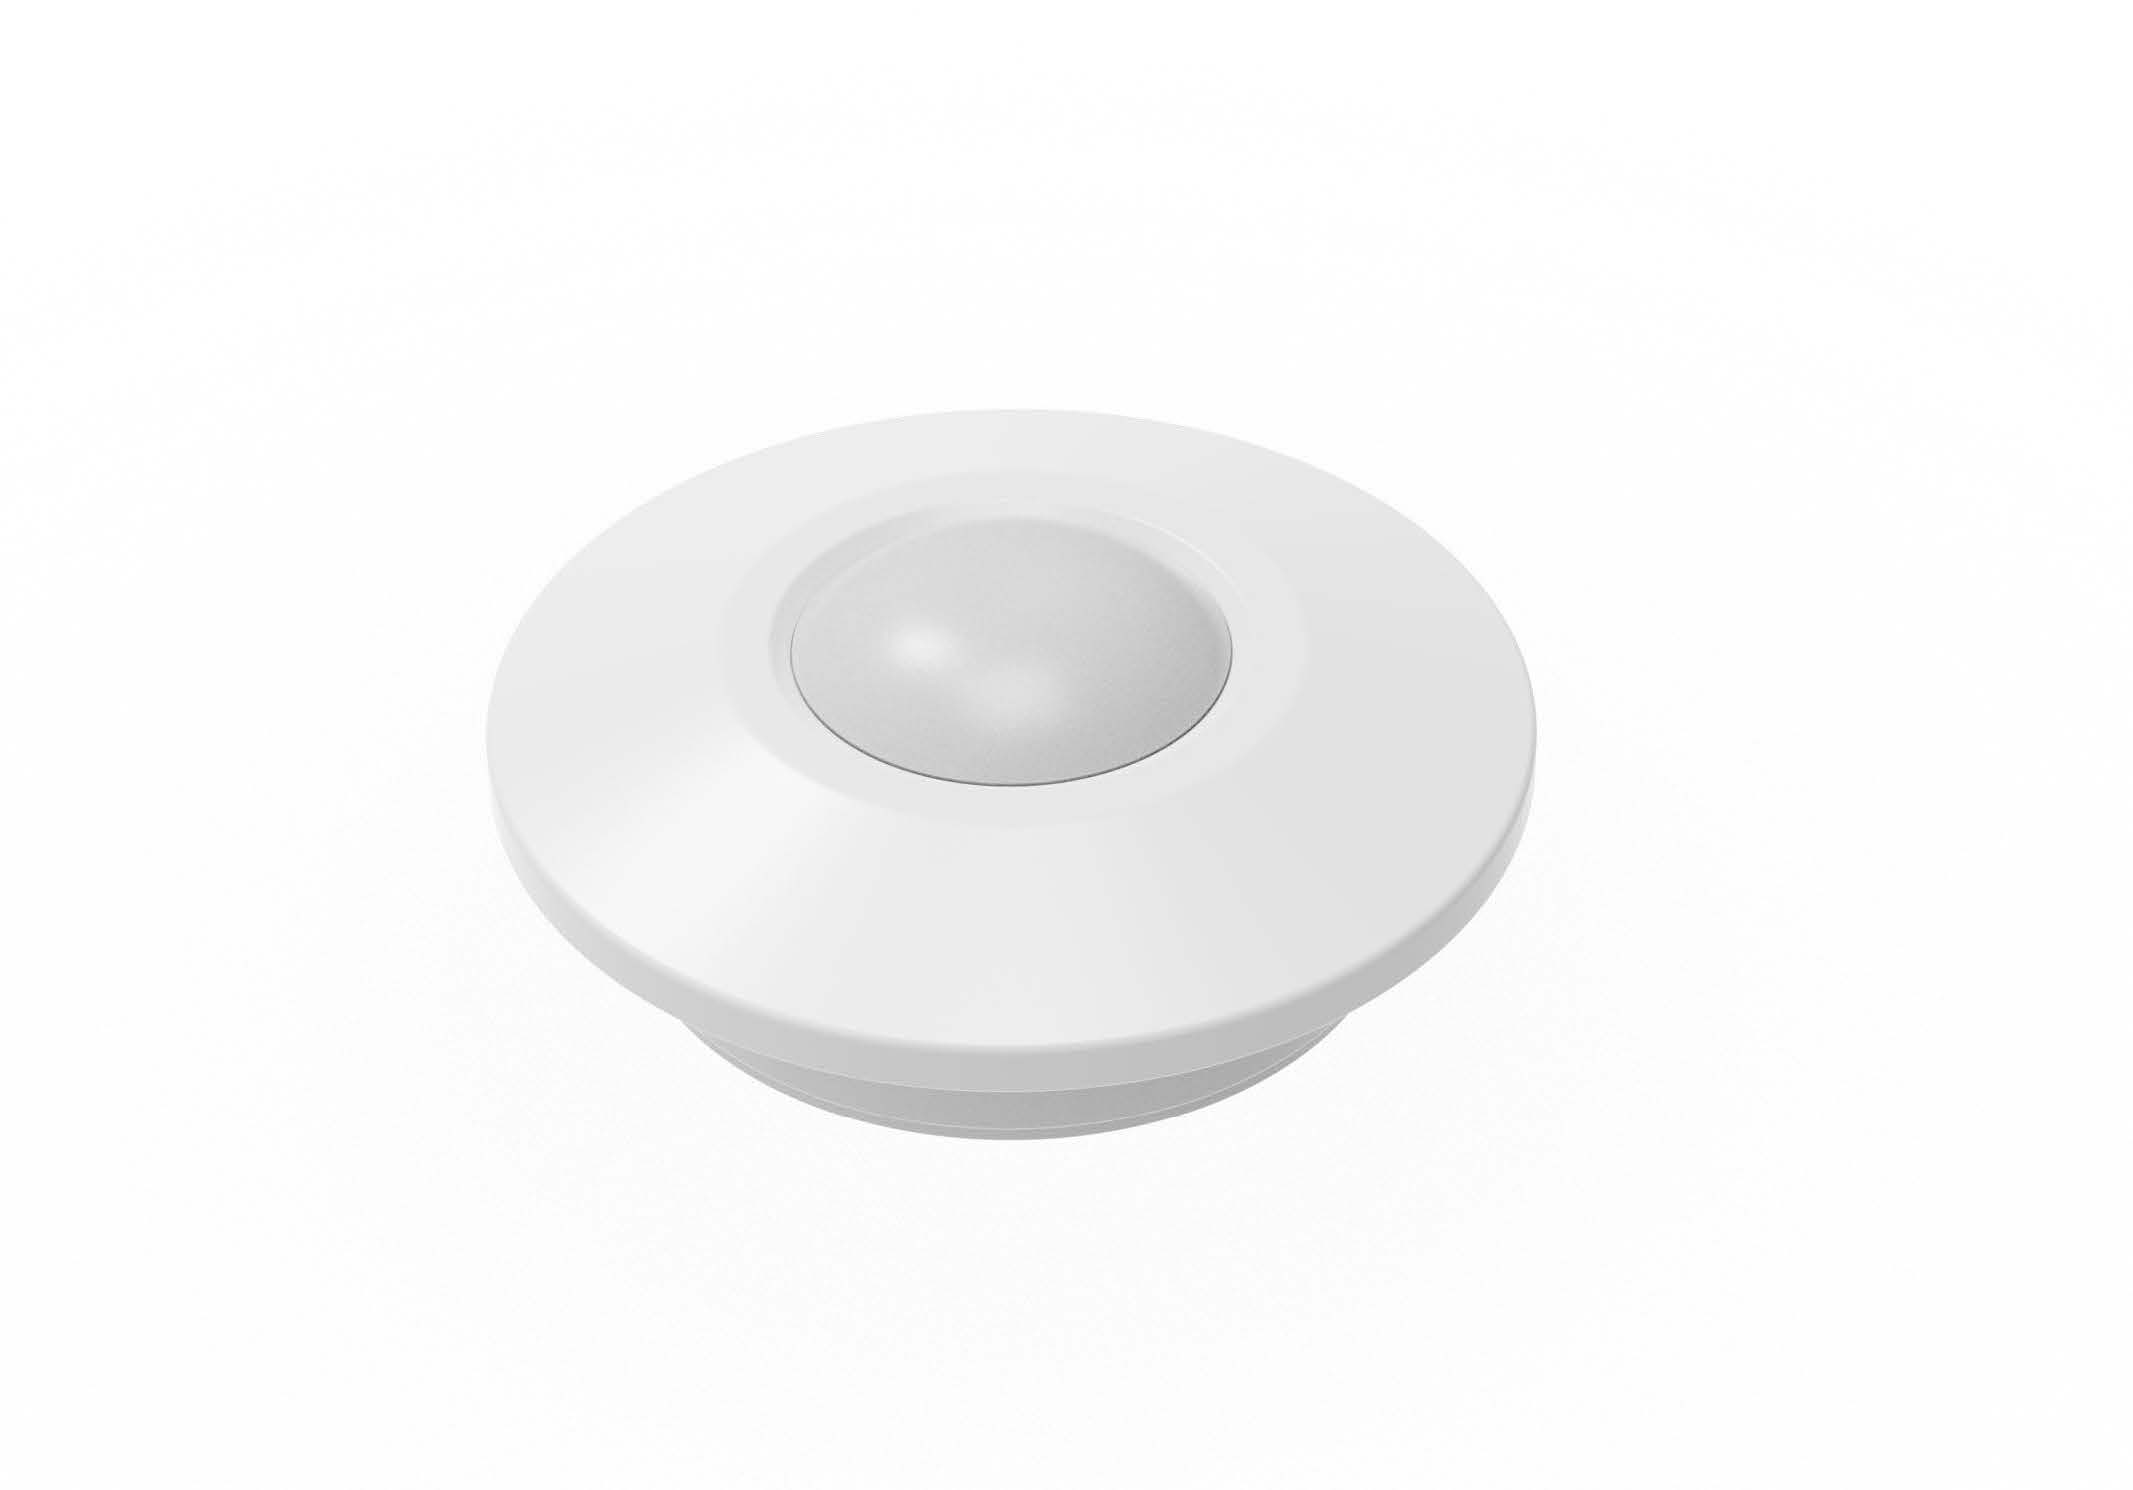
Description

Product Features

• Passive infrared sensor (PIR)
• Support Bluetooth mesh
• Software pairing
• Sensitivity of illumination sensing and body sensing can be adjusted
• Ceiling surface mounting
• Battery-powered
• Focus with Fresnel lenses
• Suitable for drive power supply with CASAMBI module
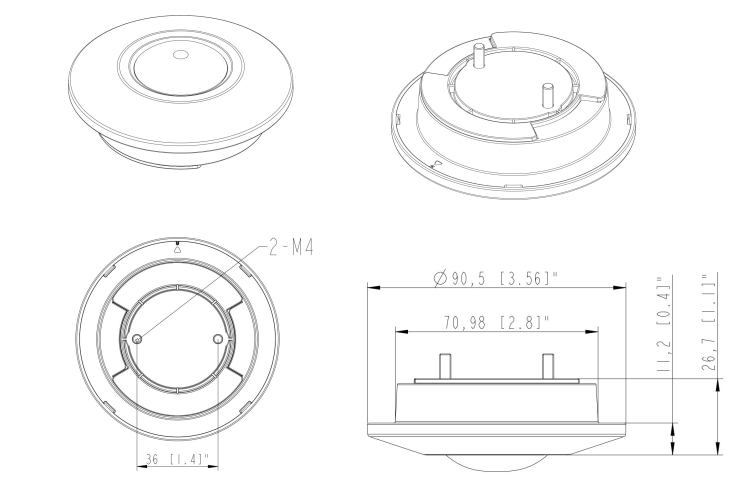
165797
XYS-CM-PDS 1.8…3.3 CA
Input voltage Operating current Detection Angle RF Transmit Power Illuminance accuracy Dimension ΦxH (mm)
3.3 Vdc 14 uA 110° 10dBm ± 5% 90.5 x 26.7
Mains Voltage Supply
Operating voltage 3.3 VDC
Operating current 14 uA
Battery type CR123A
RF Transmit Power +10dBm
Wireless Frequency 50 m
Sensor Specifications
PIR covering diameter 8m
PIR coverage Angle 110°
Illuminance sensor detection accuracy 5%
Control and Indication
sensitivity adjustment Controlled by buttons and CASAMBI software
Timeout CASAMBI software control
Red LED Displays PIR and battery status
Green LED Show test status
Environmental Specifications
Operating Temperature 0…+40C
Working Humidity 0…+95%
Work Environment Indoor only
back-view

=

Housing dimensions Packaging details
Diameter 90.5 mm Packing units TBD
Height (H) 26.7 mm Carton size TBD
Weight TBD Weight TBD
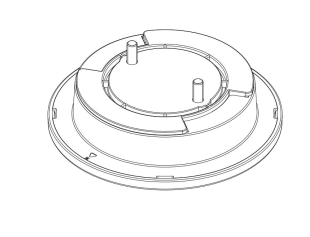
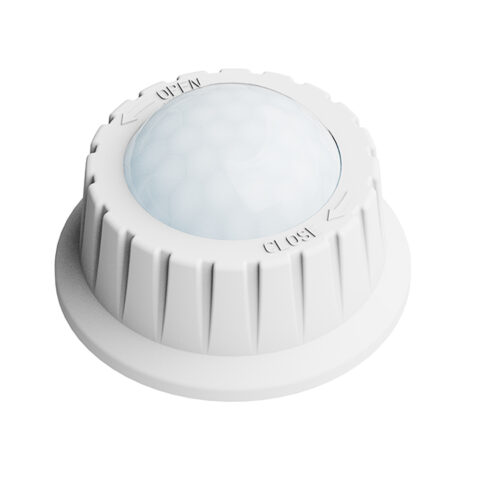
  • The sensor is installed on the ceiling plane, the base is fixed on the ceiling with a screw, and then the sensor is combined
    with the base by using a knob. This product is powered by CR123A battery. After pairing the sensor with the controller, when the
    sensor senses the human body, the lamp will be opened by wireless control mode. Sensors turn off the light wirelessly.
  • Step 1:Attach the base to the ceiling using matching screws.
back-view
  • Step 2:Install the battery, align the sensor with the base, and turn the sensor clockwise to bind to the
    base.
back-view
  • Step 3:Installation complete
back-view
back-view
  • Key one:PIR sensitivity adjustment. PIR sensitivity has four adjustable gear, respectively 25%, 50%, 75%, 100%, by short
    press the button to achieve gear switching, green light 1 blinking 25% gear, steady light 50% gear, green light 1 blinking light 2
    blinking 75% gear, light 1, 2 steady light 100% gear.
  • Key two:Mode setting. Two modes can be switched: working mode and test mode. Press the button. Green indicator 1
    Steady on indicates that it enters the working mode. Press and hold the key. Green indicator 2 Steady on indicates that the device
    enters the test mode. At the same time, in the test mode, the front red indicator blinks, and when the sensor is recognized by the
    software, the red indicator is steady on
  • (Note: If the test mode is not hibernated, it will automatically exit the test mode and enter the working mode after 15 minutes. In
    the test mode, the sensor can be paired with CASAMBI software, and the delay time and illumination detection range can be set
    through CASAMBI software)
  • If pairing does not work, check that the indicator light is on normally. Follow the steps to re-enter test mode to pair sensors.
    If the sensor does not respond, check that the battery is properly installed and that the battery is fully charged.
    Make sure the sensor is properly installed and in line with the required detection range.
    Ensure that the illumination range and sensitivity are set correctly.